
Plastic Tooling Development and Validation Explained

Tooling is the largest single capital decision in plastic product development. Here's how a well-designed mould is built, validated and managed for the long haul.
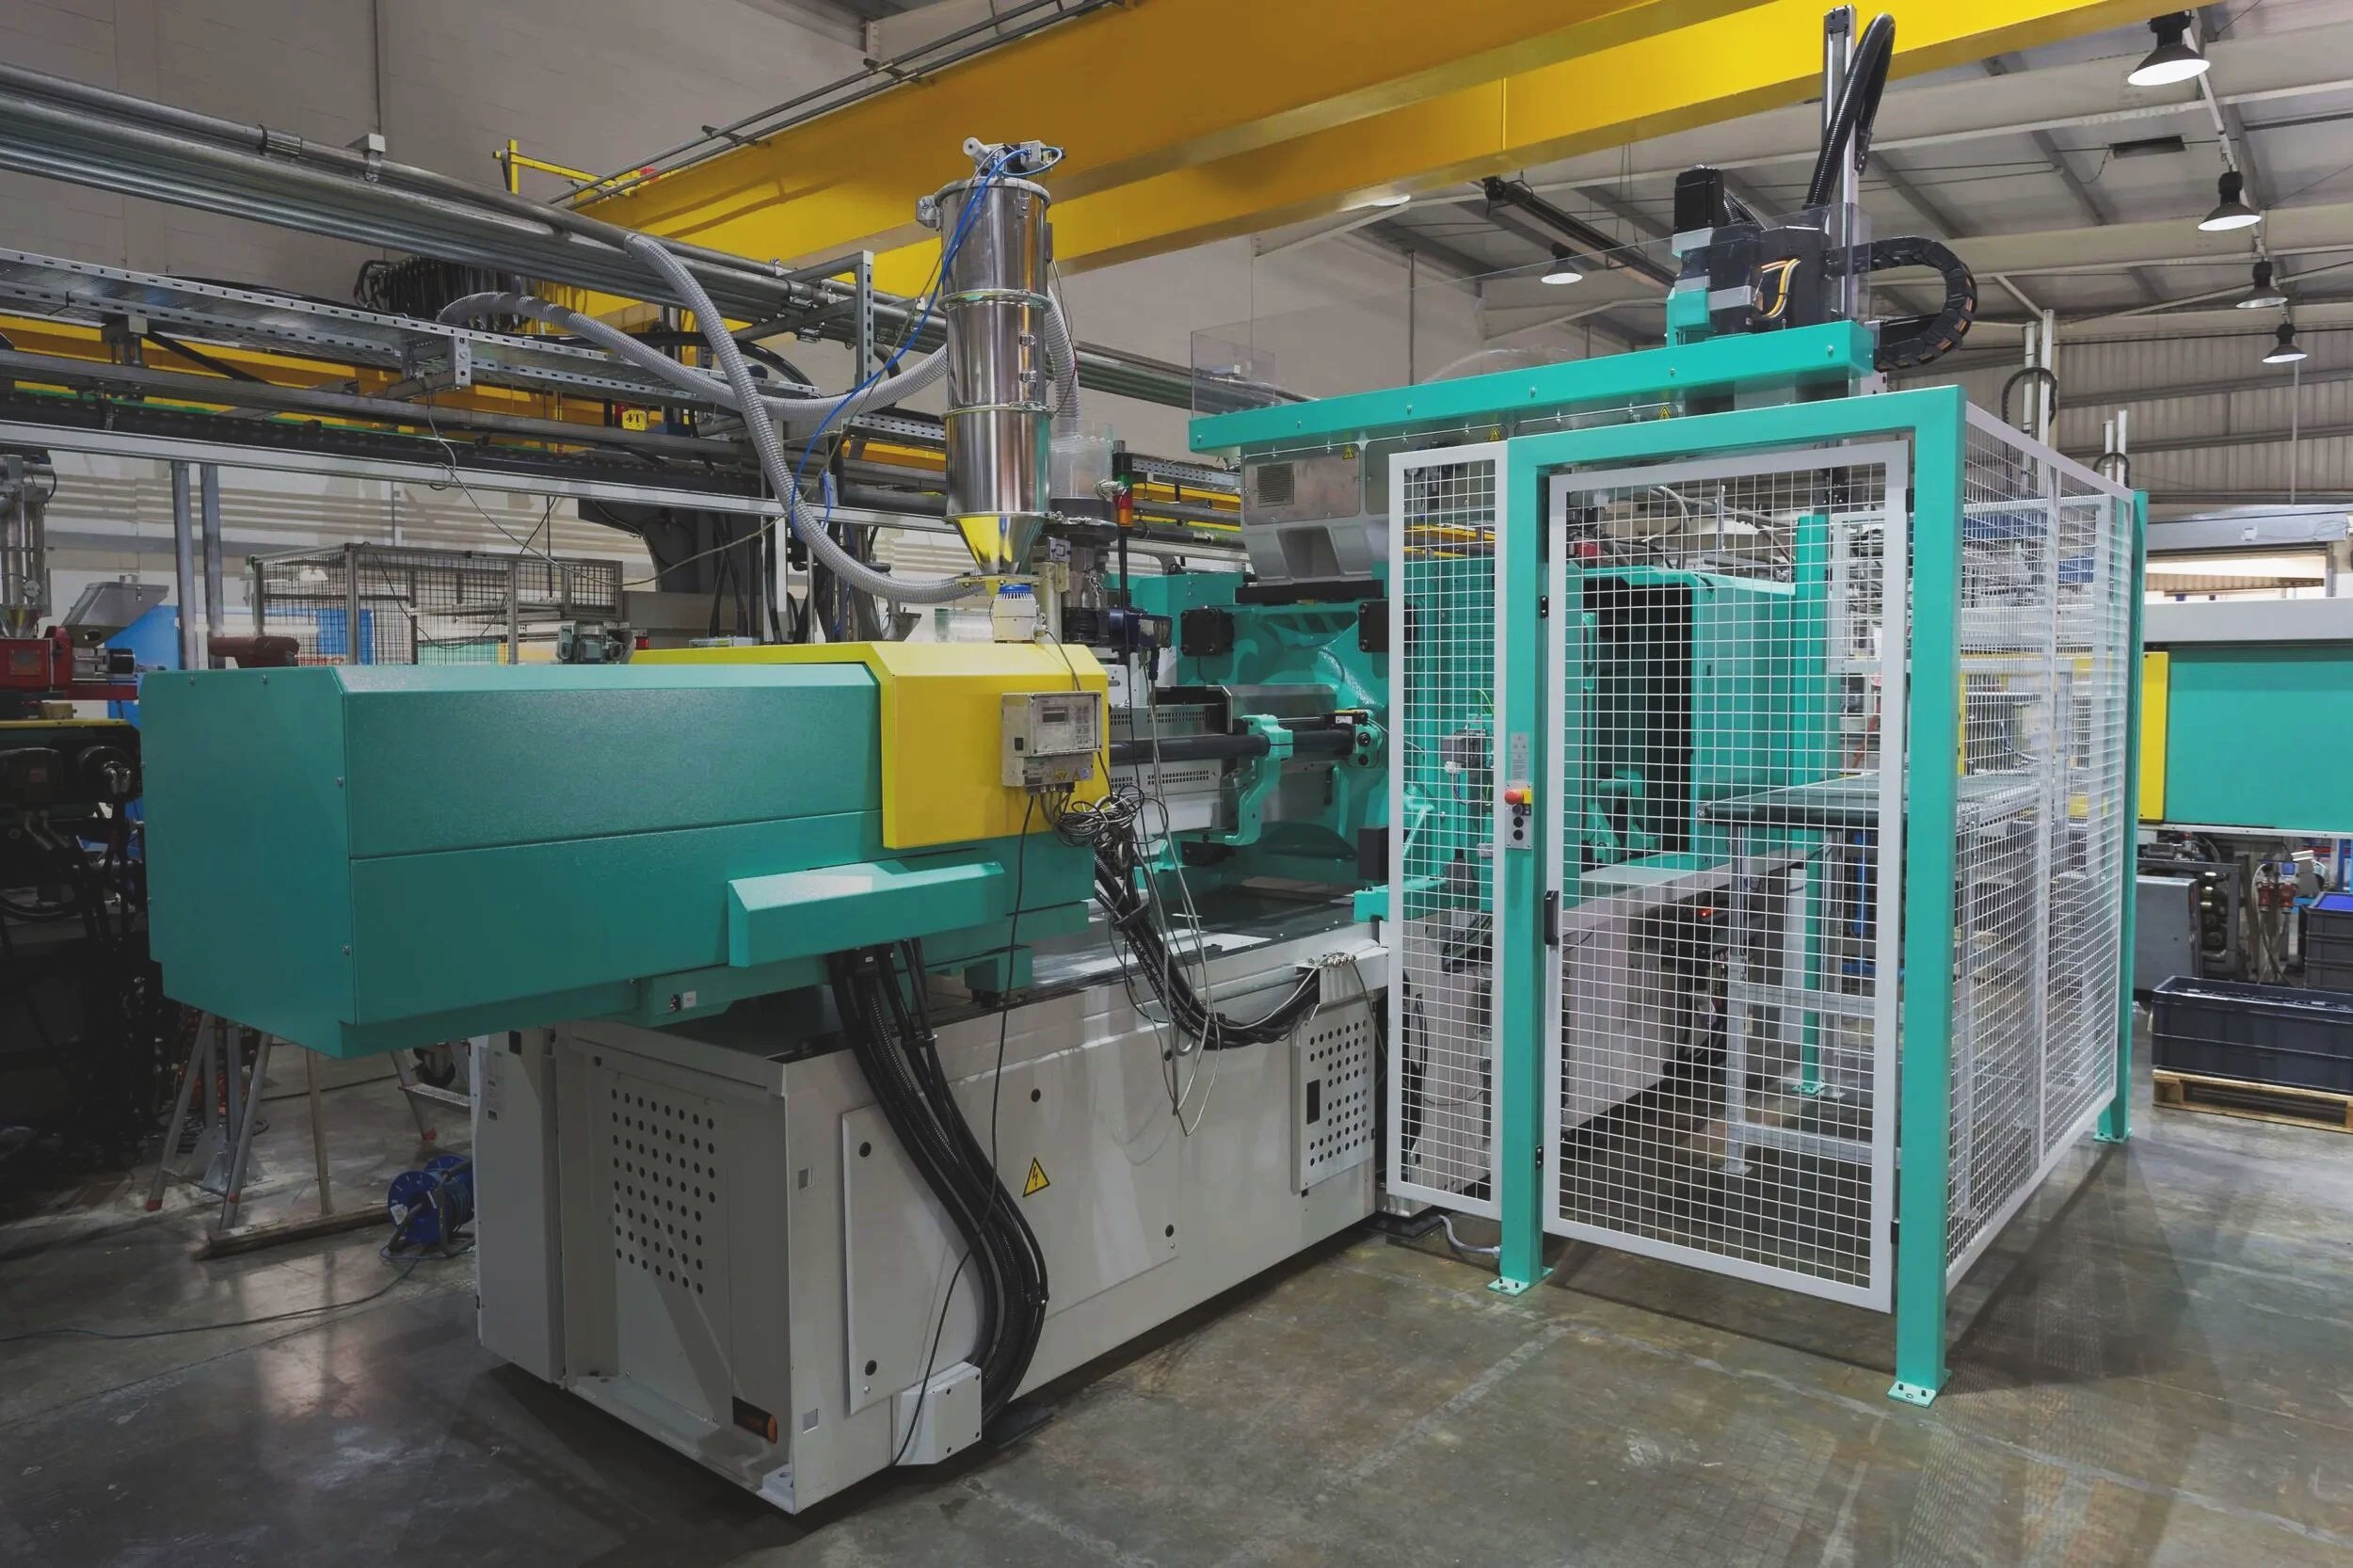
An injection mould - what most people just call a "tool" - is a precision steel or aluminium block, machined to extraordinary tolerances, that produces the same part thousands or millions of times. It is the foundation of plastic manufacturing. Get the tool right, and production is straightforward. Get the tool wrong, and every single part it produces will inherit the problem.
This page explains how plastic tooling is developed and validated at B&C Plastics, what you can expect from the process, and how to make smart decisions about an investment that will affect your product for years.


Combining full ISO certification with DISP accreditation, B&C Plastics provides high-quality, secure, and traceable plastic injection moulded components engineered for reliability and performance.
What goes into a plastic injection mould
A typical production injection mould is far more than two halves of steel with a cavity in the middle. A well-designed tool includes:
Cavity and core: the negative geometry of the part itself
Runner and gate system: the channels that deliver molten plastic to the cavity
Cooling channels: precision-drilled water lines that control how the part cools
Ejector system: pins, sleeves or strippers that push the part out at the end of each cycle
Slides, lifters and unscrewing mechanisms: for undercuts, threads and complex geometry
Venting: tiny pathways that let air escape so the cavity fills cleanly
Wear plates, alignment features and tool steel selection: everything that makes the tool last
Tool classes and what they cost
Not every tool needs to be a million-cycle production powerhouse. The right tool for the job depends on volume, complexity, polymer abrasiveness and project economics.
| Tool type | Typical life | Best for |
|---|---|---|
| Prototype / soft tool | 1,000 - 10,000 shots | Market trials, bridge production, pre-launch validation |
| Pilot tool (P20 steel) | 100,000 - 250,000 shots | Lower-volume production, niche products |
| Production tool (H13 / S136) | 500,000 - 1,000,000+ shots | Full production, abrasive materials, glass-filled polymers |
| Multi-cavity production tool | 500,000+ cycles per cavity | High-volume production where unit cost matters |
The right tool is the one that matches your forecast volume and lifecycle. Over-tooling wastes capital. Under-tooling wastes parts.
How tooling is developed at B&C Plastics
Our tooling process is designed to catch problems before they become steel - because steel is hard to change.

Stage 1 - DFM and material lock
Before any tool design starts, we sign off on the part design and material. This is the cheapest place to make changes. See our Design for Manufacture page for the detail of what this involves.

Stage 2 - Tool Design and Mould Flow Analysis (Dfm)
Our tool designers translate the part design into a tool design - choosing parting lines, gate location, ejector strategy, cooling layout, slide actions and steel selection. Mould flow analysis simulates exactly how plastic will fill the cavity, where weld lines will form, and where pressure or temperature problems will occur. We refine the design until the simulation is clean.

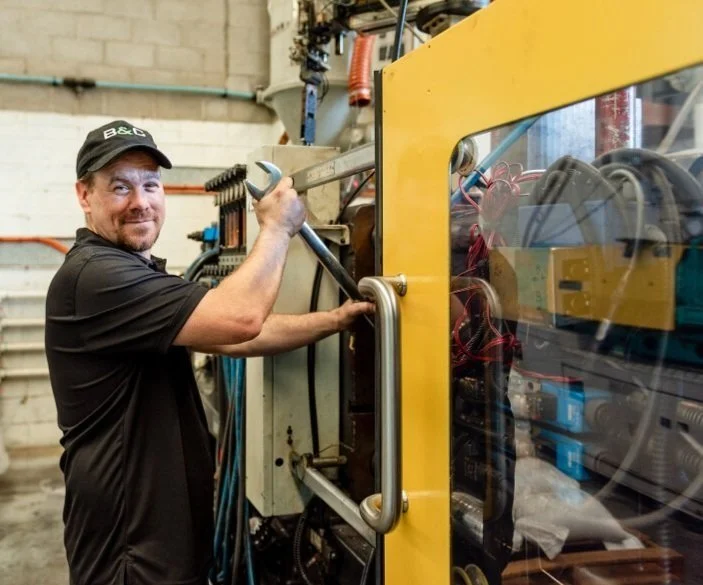
Stage 3 - Tool Build
CNC machining, EDM, polishing and assembly. For most production tools this takes 8 to 14 weeks. We can build tooling locally or, where it makes commercial sense, partner with vetted offshore toolmakers under our quality oversight - your choice, transparently costed.
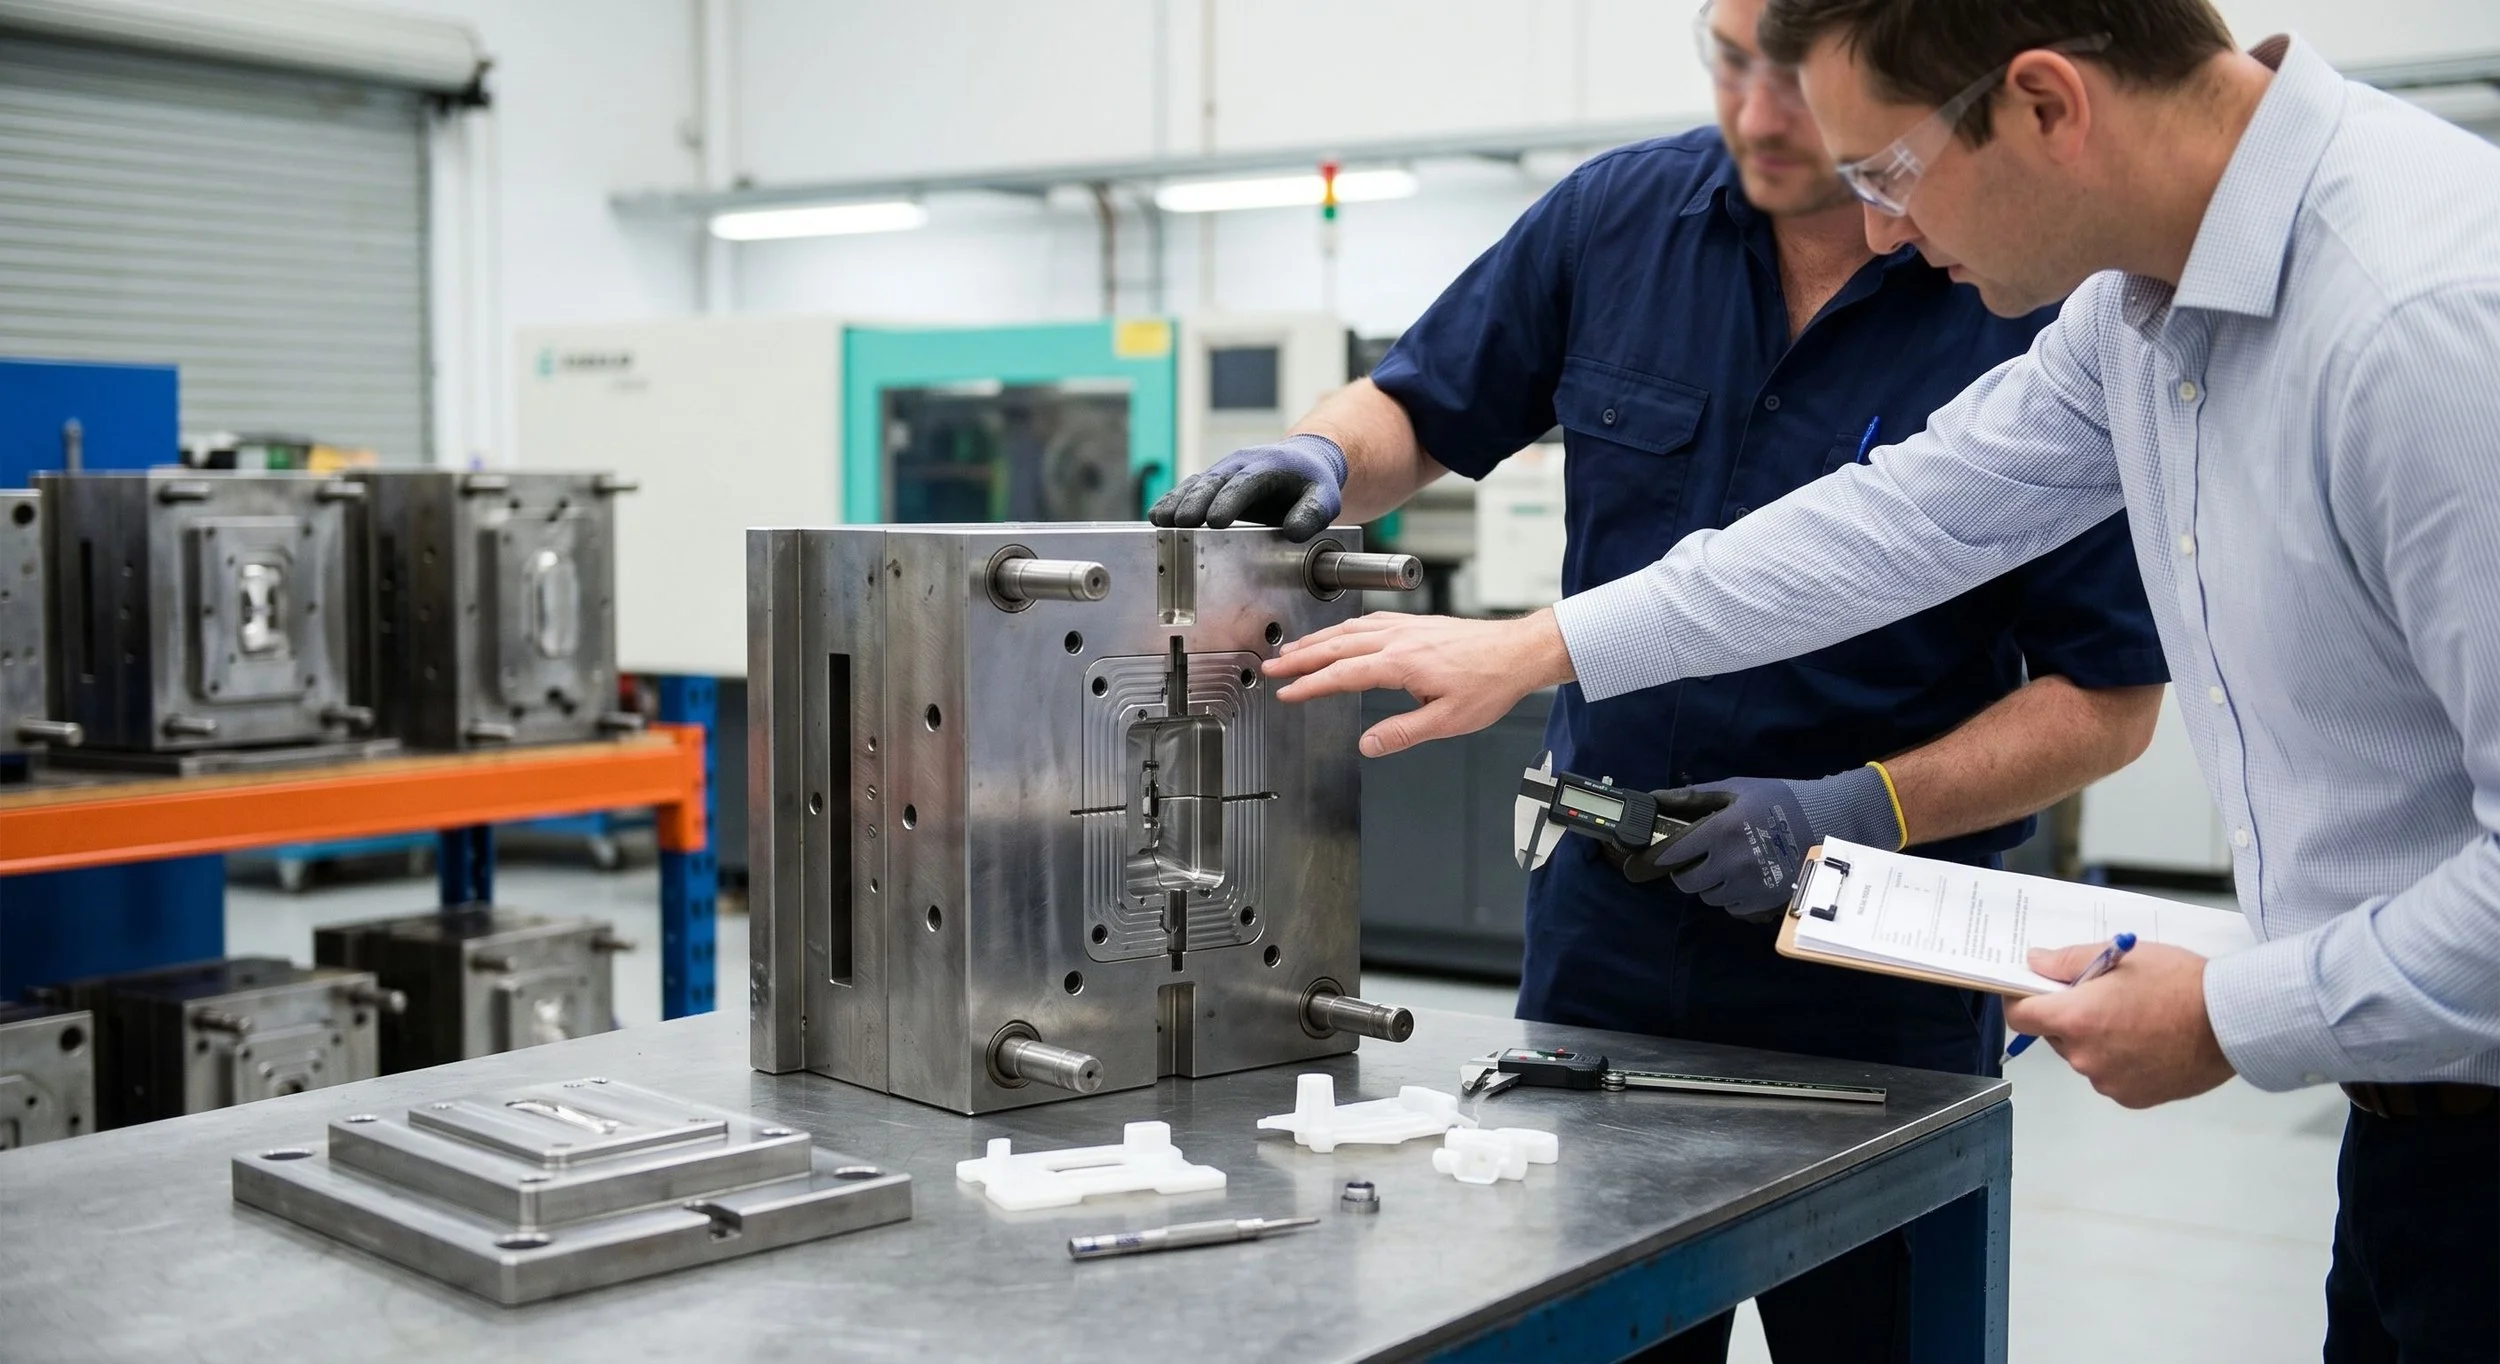
Stage 4 - Tool Trial (T1, T2, T3)
First sample shots from the new tool. T1 is the first attempt - almost always followed by adjustments. T2 and T3 refine the tool until parts meet the agreed specification. Every change is documented.

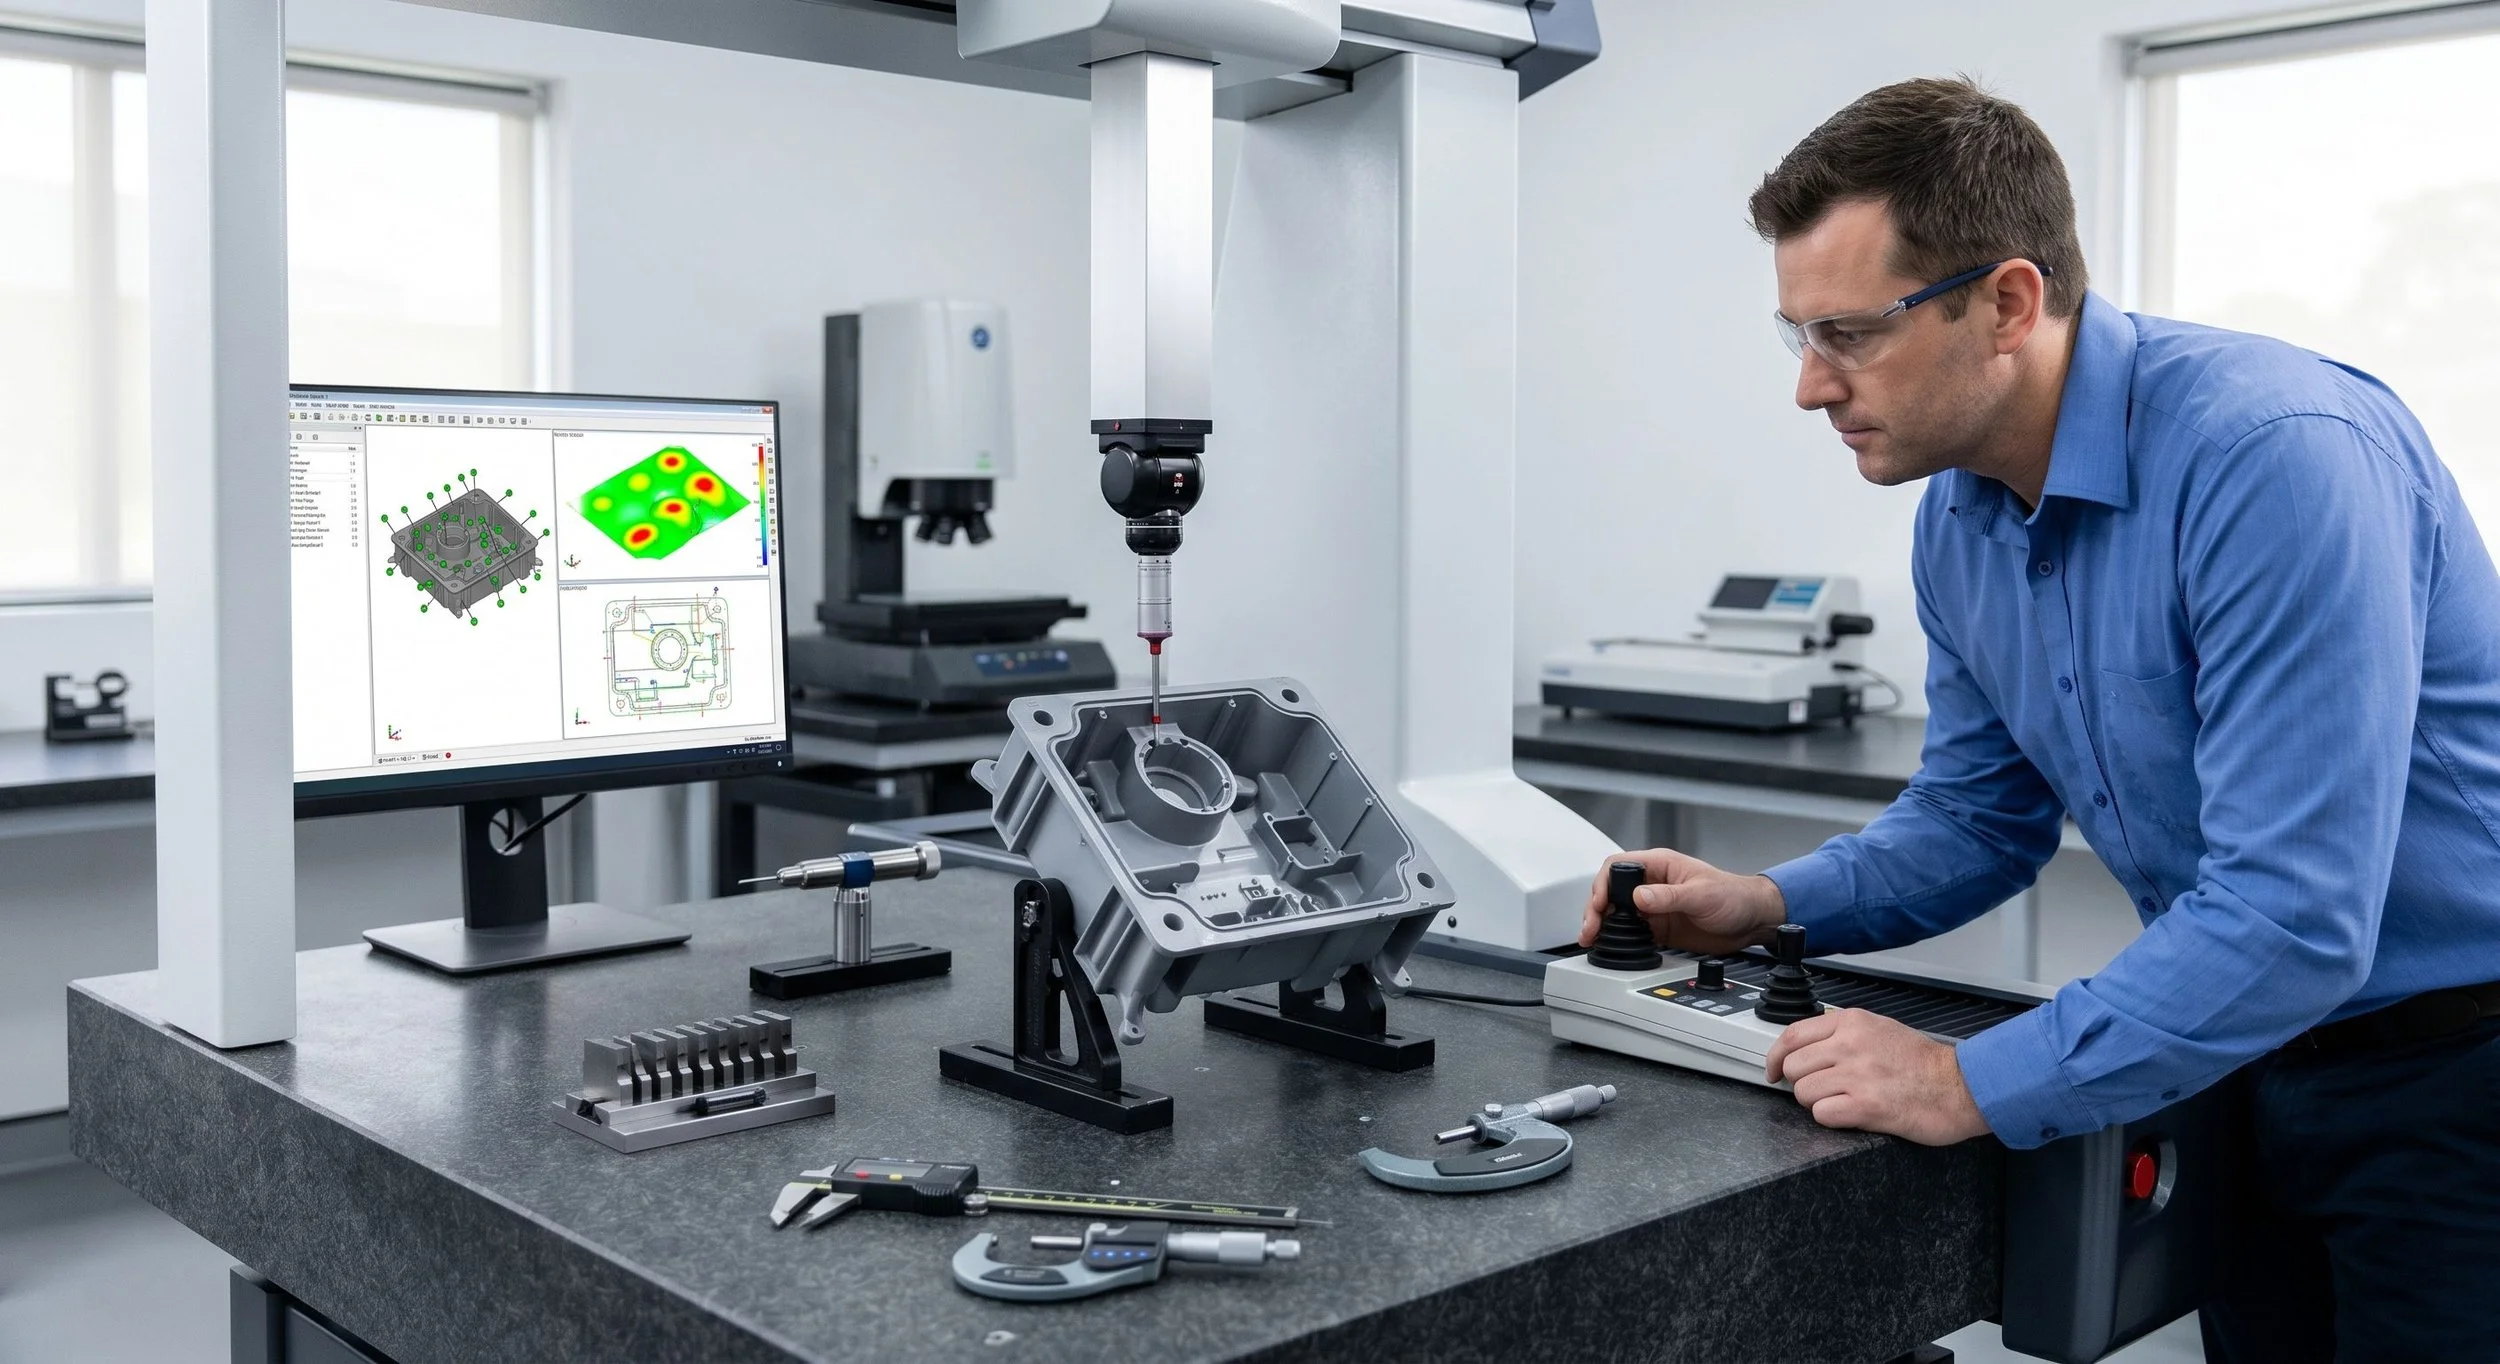
Stage 5 - Validation and Sign-Off
First-off articles are inspected against the approved CAD and drawing package. Dimensions, surface finish, weight, fit and any specified mechanical or aesthetic properties are checked and documented. You sign off before production starts.

Stage 6 - Production Process Validation
Locking in the moulding parameters that produce good parts repeatably - temperatures, pressures, hold times, cycle times. For regulated industries we can produce PPAP-style documentation.
Tool validation - what "signed off" actually means
A validated tool is one that can be relied on to produce parts within specification, run after run. Validation includes:
Dimensional inspection of first-off articles using CMM and metrology equipment
Visual and surface finish inspection against agreed standards
Functional testing of features such as snap-fits, threads, mating surfaces
Weight and shot consistency verification
Cycle time confirmation against forecast unit cost
Documentation package: inspection records, mould flow report, process parameters
Tool ownership, storage and lifecycle
Unless agreed otherwise in writing, tools we build for you are owned by you. They live in our facility because that is where they get used, but they belong to your business and they can be moved if you ever need to.
We maintain a tool register so we know exactly where every tool is, when it last ran, how many shots it has accumulated and when it last had preventive maintenance. Production tools are routinely cleaned, inspected and serviced to maximise life.
All tools individually catalogued and shot-counted
Routine preventive maintenance scheduled by shot count and time
Insurance arrangements available on request
Wear-part replacement tracked and budgeted
Spare cavity and ejector components held for high-priority tools

When tools need refurbishment or replacement
Even well-built tools eventually wear. Signs that a tool needs attention include flash at the parting line, dimensional drift, ejector marks, gate erosion or longer-than-expected cycle times. We track these signals and proactively recommend refurbishment before quality is affected.
For tools nearing end of life, we can plan a replacement build well in advance so there is no break in supply. For tools with seasonal demand, we can schedule maintenance windows to align with low-demand periods.
Frequently asked questions

-
2 weeks to 16 weeks depending on complexity / size.
-
It depends on size, complexity, cavitation and steel selection. As a guide, a single-cavity production tool for a small-to-medium part typically costs $15,000 to $50,000. Larger or multi-cavity tools can run $50,000 to $250,000+. We give you a transparent quote before any commitment.
-
Yes, in most cases. We can receive existing tools, inspect and re-validate them on our machines, and run production from them. We will tell you honestly if a tool needs refurbishment before it can run reliably.
-
Our process includes routine maintenance to prevent damage in the first place. If damage occurs, we will assess, quote and complete repairs through our in-house tooling team. For tools you want covered, we can recommend insurance arrangements.
Ready to talk to an engineering-led plastics partner?
Whether you have a fully developed brief or a rough concept, the B&C Plastics team can help you scope, design, prototype, tool and manufacture in one place - right here in Australia.
Call us on (07) 3208 0544
Email enquiries through our contact page
Or visit our Meadowbrook facility, 20 minutes south of Brisbane

Honesty, quality and partnership - today, tomorrow and every day.